-
Notifications
You must be signed in to change notification settings - Fork 34
How to use VOSM?
Let's check the help info about both commands testsmbuilding amnd testsmfitting.
$ testsmbuilding --help
Usage: test_smbuilding [options] save_directory annotation_directory image_directory shapeinfo_path database channels type levels percentage
options:
   -o    output directory (default './')
   -a    annotation directory (required)
   -i    image directory (required)
   -s    path of the file shapeinfo (required)
   -d    training database (required, IMM, AGING, BIOID, FRANCK, XM2VTS, UMDFaces )
   -c    channels (1 or 3, default 3)
   -t    statistical model type (SM, TM, AM, IA, FM, SMLTC, SMNDPROFILE. default SMNDPROFILE )
   -l    level of parymid (default 4)
   -p    percentage of shape, texture and appearance PCA (default 0.95)

Note: If you are building SMLTC or SMNDPROFILE, you must specify
 -c 1, namely, SMLTC and SMNDPROFILE can only deal with gray-level images.
$ testsmfitting --help
Usage: smfitting [options] trained_data type testing_images testing_annotations database staticORdynamic recording
options:
   -o   trained data directory (required)
   -t   fitting method to be used (ASM_PROFILEND, ASM_LTC, AAM_BASIC, AAM_CMUICIA, AAM_IAIA. default ASM_PROFILEND )
   -i   testing image directory containing at least one image (required)
   -a   testing annotation directory (can be ignored)
   -d   testing database -- if annotation directory is specified, database should also be specified for further evaluation on fitting performance (can be ignored)
   -s   static image sequence or dynamic image sequence (default value true)
   -r   recording the fitting results or not (default value false)


Note: current testsmfitting adopts 2D Profile ASM by default.
If you would like to try 1D Profile ASM, you have to manually change the code
in function VO_Fitting2DSM::VO_StartFitting in file VO_Fitting2DSM.cpp, say,
around line 318 of file VO_Fitting2DSM.cpp:
change the 5th parameter from '2' to '1' of function
dynamic_cast<VO_FittingASMNDProfiles*>(this)->VO_ASMNDProfileFitting.


Face Detection: current testsmfitting use Adaboost technology to detect face
as well as face components for face location initialization.
Refer to CFaceDetectionAlgs in main(). Default Adaboost detectors
installed with OpenCV installation are adopted in current testsmfitting.
You may manually change the Adaboost detectors according to your own cascade file paths.


Face Tracking: current testsmfitting only deal with image sequences.
- For static images, it's pointless to do tracking.
- For dynamic image sequences, Camshift tracking strategy is adopted.
Please Refer to CTrackingAlgs() in main(), the default setting of function
function CTrackingAlgs() is Camshift algorithm.


Vision Open doesn't provide the video IO or webcam IO although I've done my own IO for all kinds.
FFmpeg is so competent. Users are highly encouraged to use their own video file IO
and webcam IO and use VOSM in their own real-time applications.
All ShapeInfo.txt are provided at https://github.com/jiapei100/VOSM/tree/master/shapeinfo.
As described in help, current VOSM supports 7 types of statistical models. Here, let's take IMM as an example.
$ testsmbuilding -o "./output" -a "./annotations/training/" -i "./images/training/" -s "../VOSM/shapeinfo/IMM/ShapeInfo.txt" -d "IMM" -c 1 -t "SM" -l 4 -p 0.95
Two folders: Point2DDistributionModel and ShapeModel.
$ testsmbuilding -o "./output" -a "./annotations/training/" -i "./images/training/" -s "../VOSM/shapeinfo/IMM/ShapeInfo.txt" -d "IMM" -c 3 -t "TM" -l 4 -p 0.95
Three folders: Point2DDistributionModel, ShapeModel and TextureModel.
$ testsmbuilding -o "./output" -a "./annotations/training/" -i "./images/training/" -s "../VOSM/shapeinfo/IMM/ShapeInfo.txt" -d "IMM" -c 3 -t "AM" -l 4 -p 0.95
Five folders: Point2DDistributionModel, ShapeModel, TextureModel, AppearanceModel and AXM.
$ testsmbuilding -o "./output" -a "./annotations/training/" -i "./images/training/" -s "../VOSM/shapeinfo/IMM/ShapeInfo.txt" -d "IMM" -c 3 -t "IA" -l 4 -p 0.95
Five folders: Point2DDistributionModel, ShapeModel, TextureModel, AAMICIA and AXM.
$ testsmbuilding -o "./output" -a "./annotations/training/" -i "./images/training/" -s "../VOSM/shapeinfo/IMM/ShapeInfo.txt" -d "IMM" -c 3 -t "FM" -l 4 -p 0.95
Two folders: AFM and AXM.
$ testsmbuilding -o "./output" -a "./annotations/training/" -i "./images/training/" -s "../VOSM/shapeinfo/IMM/ShapeInfo.txt" -d "IMM" -c 3 -t "SMLTC" -l 4 -p 0.95
Four folders: Point2DDistributionModel, ShapeModel, ASMLTCs and AXM.
$ testsmbuilding -o "./output" -a "./annotations/training/" -i "./images/training/" -s "../VOSM/shapeinfo/IMM/ShapeInfo.txt" -d "IMM" -c 1 -t "SMNDPROFILE" -l 4 -p 0.95
Four folders: Point2DDistributionModel, ShapeModel, ASMNDProfiles and AXM.
Clearly, in total, 9 models can be generated by Current VOSM . They are:
- Point2DDistributionModel
- ShapeModel
- TextureModel
- AppearanceModel
- AAMICIA
- AFM
- AXM
- ASMLTCs
- ASMNDProfiles
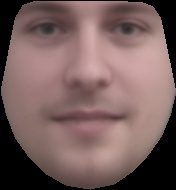
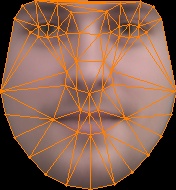
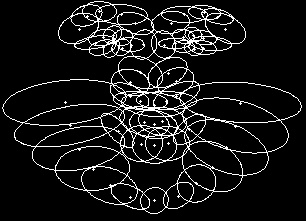
Under folder TextureModel, 3 key images are generated:
| Reference.jpg | edges.jpg | ellipses.jpg |
|---|---|---|
 |
 |
 |
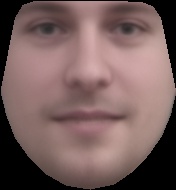
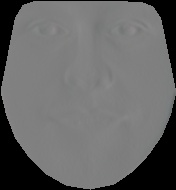
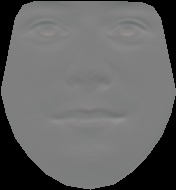
Under folder AAMICIA, another 3 key images are generated:
| m_IplImageTempFace.jpg | m_IplImageTempFaceX.jpg | m_IplImageTempFaceY.jpg |
|---|---|---|
 |
 |
 |
As described in help, current VOSM supports 5 fitting methods.
- ASM_PROFILEND
- ASM_LTC
- AAM_BASIC
- AAM_CMUICIA
- AAM_IAIA
$ testsmfitting -o "./output/" -t "ASM_PROFILEND" -i "./images/testing/" -a "./annotations/testing/" -d "IMM" -s true -r true
$ testsmfitting -o "./output/" -t "ASM_LTC" -i "./images/testing/" -a "./annotations/testing/" -d "IMM" -s true -r true
$ testsmfitting -o "./output/" -t "AAM_BASIC" -i "./images/testing/" -a "./annotations/testing/" -d "IMM" -s true -r true
$ testsmfitting -o "./output/" -t "AAM_CMUICIA" -i "./images/testing/" -a "./annotations/testing/" -d "IMM" -s true -r true
$ testsmfitting -o "./output/" -t "AAM_IAIA" -i "./images/testing/" -a "./annotations/testing/" -d "IMM" -s true -r true
Let's just take ASM_PROFILEND as an example.
$ testsmfitting -o "./output/" -t "ASM_PROFILEND" -i "./images/testing/" -a "./annotations/testing/" -d "IMM" -s true -r true
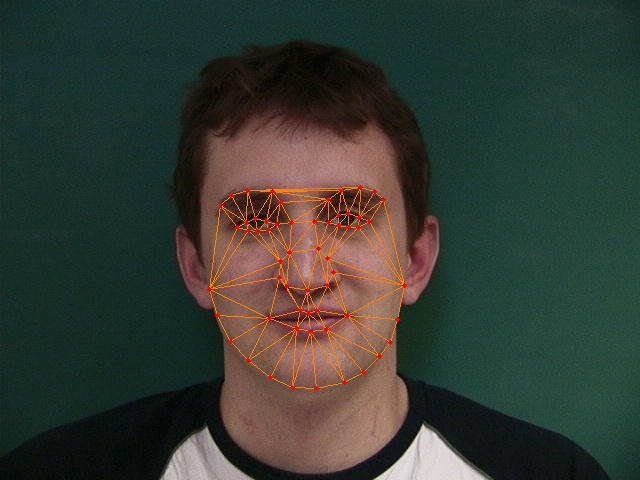
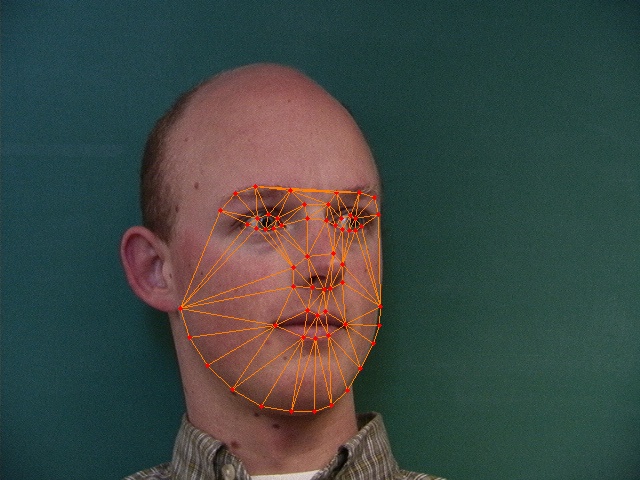
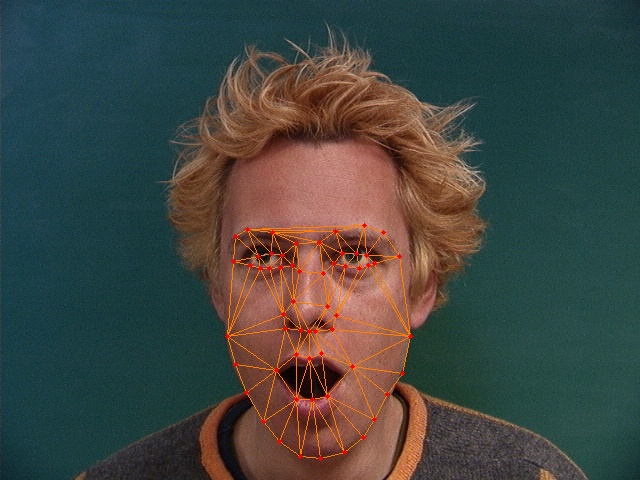
All fitted images are generated under current folder, some are well fitted:
| 11-1m.jpg | 33-4m.jpg | 40-6m.jpg |
|---|---|---|
 |
 |
 |
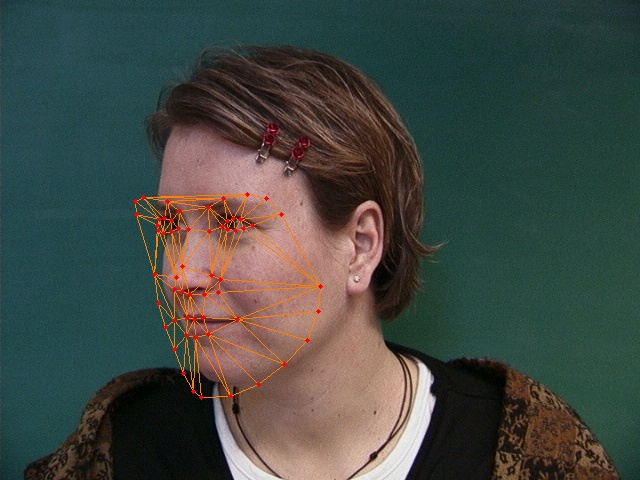
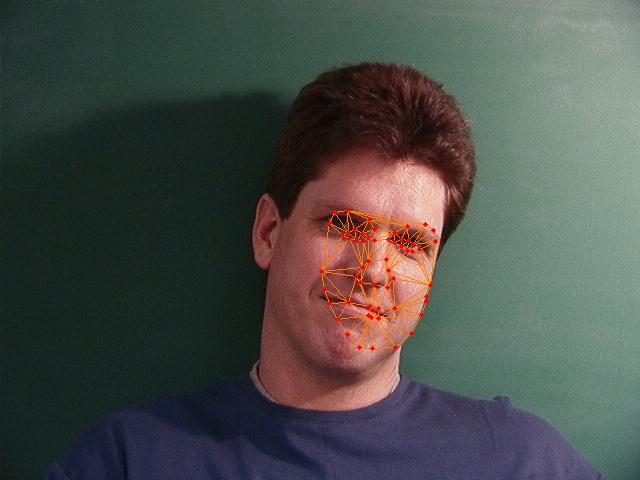
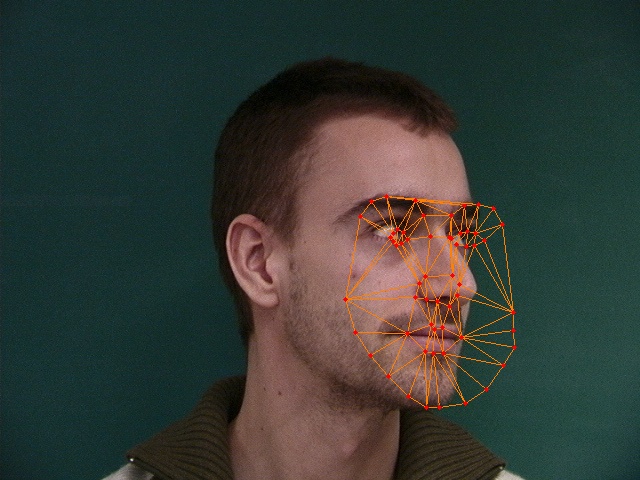
others are NOT well fitted:
| 12-3f.jpg | 20-6m.jpg | 23-4m.jpg |
|---|---|---|
 |
 |
 |
The fitting process can also be recorded for each image if the parameter "-r" is enabled by -r true. Let's take a look at what's in folder 40-6m.
| 00.jpg | 01.jpg | 02.jpg |
|---|---|---|
 |
 |
 |
| 03.jpg | 04.jpg | 05.jpg |
 |
 |
 |
| 06.jpg | 07.jpg | 08.jpg |
 |
 |
 |
| 09.jpg | 10.jpg | 11.jpg |
 |
 |
 |
| 09.jpg | 10.jpg | 11.jpg |
 |
 |
 |
| 15.jpg | 16.jpg | |
 |
 |
Clearly, the technology of pyramids is adopted during the fitting process.